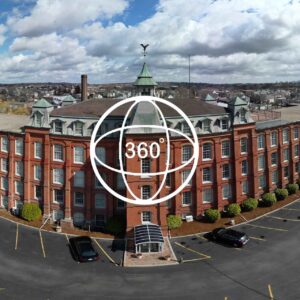
PANORAMIC PHOTOS
How to Upload Your Panoramic Photos?
- Yurii
- Boston
- March, 2024
Background
Since 2018, our company has been actively engaged in creating not only panoramic photos of real estate but also 3D tours based on them. Various expensive equipment has been used for this purpose. Over this time, we have completed more than 7000 projects, which has given us significant experience in this field. Today, creating panoramic photos has become much easier, and they can even be taken with an ordinary smartphone. However, many people do not know how to store and place these photos. Let’s discuss this in this article.
Creating a Panorama
It doesn’t matter how you made the panoramic shot. Today, even an ordinary smartphone can take photos and videos if connected to artificial intelligence. We mainly create panoramas with a special camera if indoors, or with a drone if outdoors. After all, the quality of the work still matters. Once you have a file with the panorama, let’s call it panorama.jpg, before posting it on the internet, the photo must be processed, removing unnecessary details and adding color corrections. There is a lot of information about this on the internet: read, watch, and do it, and we move on to the final stage.
Placing the Panorama
There are many different internet platforms and applications that offer services for placing your panoramas. However, all these services are paid, and sooner or later you will have to pay for hosting. What to do if you don’t want to pay? Many people post their content for free on Google Maps and then create a link and share it with friends. This method is not very reliable because the link may disappear. Google Maps often undergo various internal repair works, which can affect your photos, plus there is strict moderation.
It is better to place it on Facebook and repost. But we are not looking for easy ways, are we? I suggest posting the photo on YouTube! No, I’m not crazy. Take a trusted video editor, in my case it’s Adobe Premiere. Upload our processed panorama to a new project. Stretch our video to at least one minute. With the Offset effect, you can give this photo a little movement. For better perception, I advise you to add some music as well. Now all that’s left is to export this project to a video file, for example, with the extension mpg4, and then upload this file to your YouTube channel. Your photo has now turned into a musical 3D postcard that you can give to your friends with a link or embedded code.
If you use a WordPress site, then there will be no problem with placing the panorama either. You can apply a plugin or, as mentioned above, insert ready-made code from YouTube, Facebook, or Google Maps. But there is another way to place your panorama on your website.
Create a file named index.html on your hosting and then upload our panorama file, for example, panorama.jpg
The index file should contain the following:
<!DOCTYPE html>
<html>
<head>
<script src=”https://aframe.io/releases/1.0.3/
aframe.min.js”></script>
<style>
/* height and width of the project */
a-scene { height: 100vh; width: 100%; }
</style>
</head>
<body>
<div id=”myEmbeddedScene”>
<a-scene embedded>
<a-sky src=”panorama.jpg” rotation=”0 -85 0″></a-sky>
</a-scene>
</div>
</body>
</html>
That’s it, your panorama is ready! Visit your website and enjoy the beautiful views.


